
Simple DIY Prosciutto – Prosciutto-Style Pork
An Introduction to Charcuterie
Around six months ago I decided I wanted to dive into charcuterie and try making some cured meats. Charcuterie, from chair cuite, which means literally cooked meat. Charcuterie is the method of “cooking” meat to preserve it. Modern charcuterie utilizes salt, smoke, and drying in order to preserve a variety of types of meats. In the world of charcuterie, there are dozens upon dozens of different cuts, recipes, and curing styles. To keep it simple, I’ll be referring to this recipe as “DIY Prosciutto”, since that’s easily recognizable to the layman.

Before I tackled curing my own wild game, I tried out a DIY prosciutto with a cheap pork roast. Prosciutto is normally made with a ham, but I used the same process, just with a different cut of pork.
Through my first exploration into cured meats, I learned firsthand that miscalculating things and not paying attention to the cure time can go terribly. I cured it for too long, and it turned into a rock hard, overly salty brick. It sucks that you have to wait months to find out you ruined it!
So, over a month ago I tackled it again. I had three more pork roasts in my freezer, and through learning my mistakes the first time, I was confident that I wouldn’t ruin three roasts in my second attempt. Since it takes a few months, I decided to do all three roasts at the same time so I wouldn’t have to wait as long for more DIY prosciuttoMuch more precise in my measuring and cure times and tested it on three pork roasts. It turned out much better!

Below is the recipe I followed. Take a look and give it a shot! I also included a video that shows the process in a step-by-step.
There are dozens of other DIY prosciutto and other cured meats recipes out there, but this is the easiest I’ve found and helps to give you the ability to try it out before diving into more complex recipes. This is a much simpler version of cured pork, so take it with a grain or salt… 🙂
Ingredients:
Pork Sirloin Roast – Or any piece of meat you wish to cure
Salt – I used 3-5 lbs of salt, plus 4 oz. curing salt (which is salt, sugar, and both sodium nitrate and sodium nitrite) mixed into the rest of the salt
Transparent Storage tub – bowl, Tupperware, ice cream bucket, or another transparent plastic container large enough to allow for your meat to be placed inside without any contact with the container.
Curing Steps:
 1. PREPARE YOUR INGREDIENTS: Prep your meat and trim off any loose parts, excess fat, or thin parts that wouldn’t cure evenly. Rinse your meat and pat dry with a towel.
2. CALCULATE CURE TIME: Weigh your meat, and WRITE IT DOWN. This is important! Accurate weight measurements are essential to a correct cure time. Initial “wet” weight is also important to ensure that your cured meat has dried enough over time. Cure time will be approximately 1 day per Kg of meat.
3. FILL YOUR CONTAINER BOTTOM WITH SALT: Take your transparent container and cover the bottom with a layer of salt thick enough so that your meat won’t come in contact with the plastic container.
4. BURY MEAT IN SALT MIXTURE: Once you have a layer of salt in the bottom of your container, place your meat on the salt and completely bury in salt. Ensure that the salt is worked into all the crevices of your meat, and you don’t have any wet or exposed surfaces left.
5. LET CURE: Based on your calculated cure time, place your container in the fridge or a cool place and let cure for your set time.
6. REMOVE MEAT FROM CURE: Once you reach the calculated cure time, remove your meat from the salt and thoroughly brush off all salt. If you don’t like a lot of salt, you can rinse your meat to ensure that the salt has been removed. If you’re concerned about mold growth, keeping some salt on the surface of the meat will help to inhibit mold growth.
7. AGE YOUR MEAT: Now that your meat has completed the cure time, place your meat in a cool space and let age! The key number to keep in mind is 30%. Once your meat has lost 30% of its wet weight through drying, your meat has cured enough. 30% ensures that enough moisture has left the meat to further inhibit mold growth.
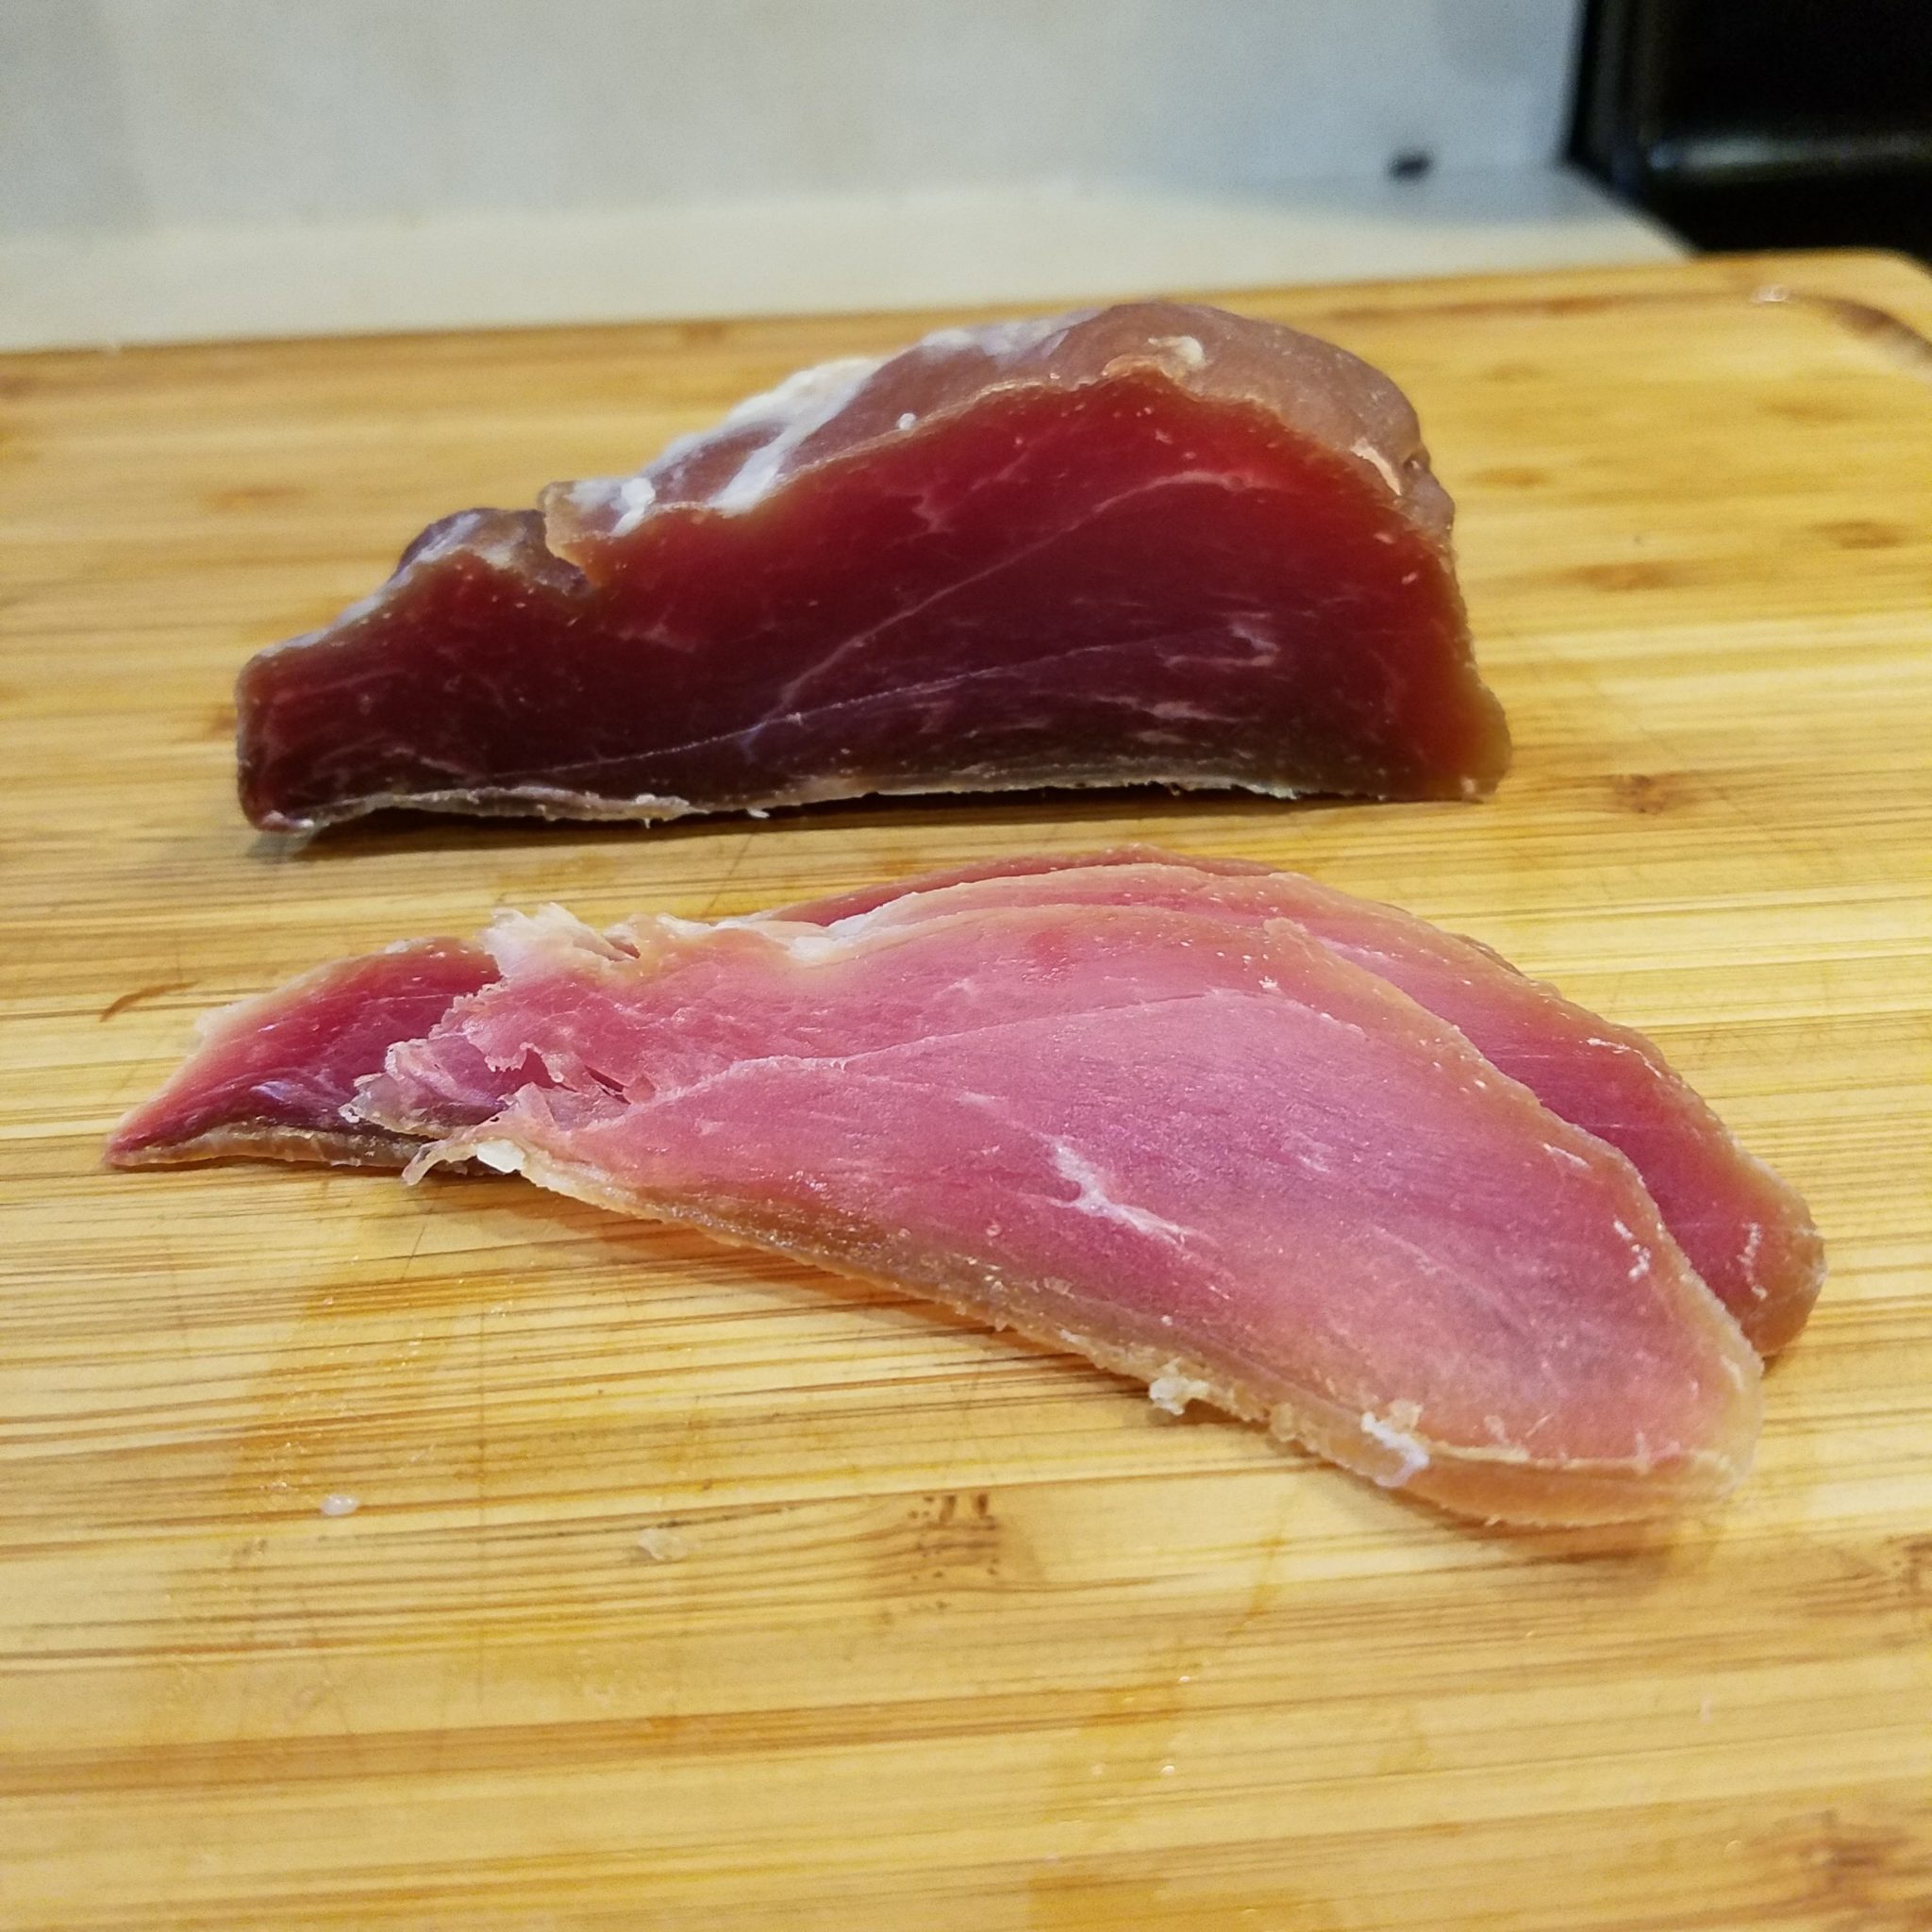
8. ENJOY! Take it out of the fridge, slice it thin, and enjoy! Remember, this is a BEGINNER recipe. There are practically limitless cured meat recipes, so try this out and see if it’s something you enjoy! Like it? Try out some more complex types of charcuterie and expand your cured meats selection!


